Alright folks, gather 'round! Let me tell you about this copper Thor hammer I made. It was a fun little project, and I learned a bunch along the way.
The Idea Sparked: So, I was messing around in the garage, you know, usual stuff, and I saw this chunk of copper pipe. It was just sitting there, begging to be turned into something cool. I'd been watching some videos about metalworking, and Thor was on TV the other night, so BOOM! Copper Thor hammer idea was born.
Gathering the Goods: First things first, gotta get the supplies. I already had the copper pipe. Then, I needed a handle. I had an old hammer handle lying around, the kind you can replace. Perfect. Also, safety gear – goggles, gloves, the whole shebang. Can't be messing with hot metal without protecting yourself, right?
Shaping the Hammerhead: This was the tricky part. The copper pipe was just that... a pipe. I needed to flatten it out to make the hammerhead shape. I started by heating the copper with a propane torch. Got it nice and hot, not glowing red hot, but good and warm. Then, I whacked it with a regular hammer on an anvil I picked up at a flea market. Took a while, lots of hammering, and some reheating, but slowly, surely, it started to flatten out.
Cutting and Grinding: Once it was mostly flat, I used an angle grinder to shape it into something resembling a hammerhead. I wasn't going for perfect, just a general rectangular shape. The copper is soft, so it grinds down pretty quickly. After the rough shape, I used files and sandpaper to smooth out the edges and get rid of any sharp bits.
Making the Handle Hole: Next, I needed a hole for the hammer handle. I marked the center of the copper head and used a drill with a metal-drilling bit to make a pilot hole. Then, I gradually increased the size of the hole until it was big enough for the handle to fit snugly. This took some patience, 'cause the copper can grab the drill bit if you're not careful.
Fitting the Handle: This was pretty straightforward. I just pushed the hammer handle into the hole. It was a tight fit, which is what I wanted. To make sure it stayed put, I used a small metal wedge to spread the end of the handle inside the hammerhead. Now that thing ain't going anywhere!
Finishing Touches: Finally, I cleaned up the copper with some metal polish. This gave it a nice shine. Then, just for fun, I used some metal stamps to add some (very crude) Norse-looking runes to the hammerhead. It ain't perfect, but it's mine!
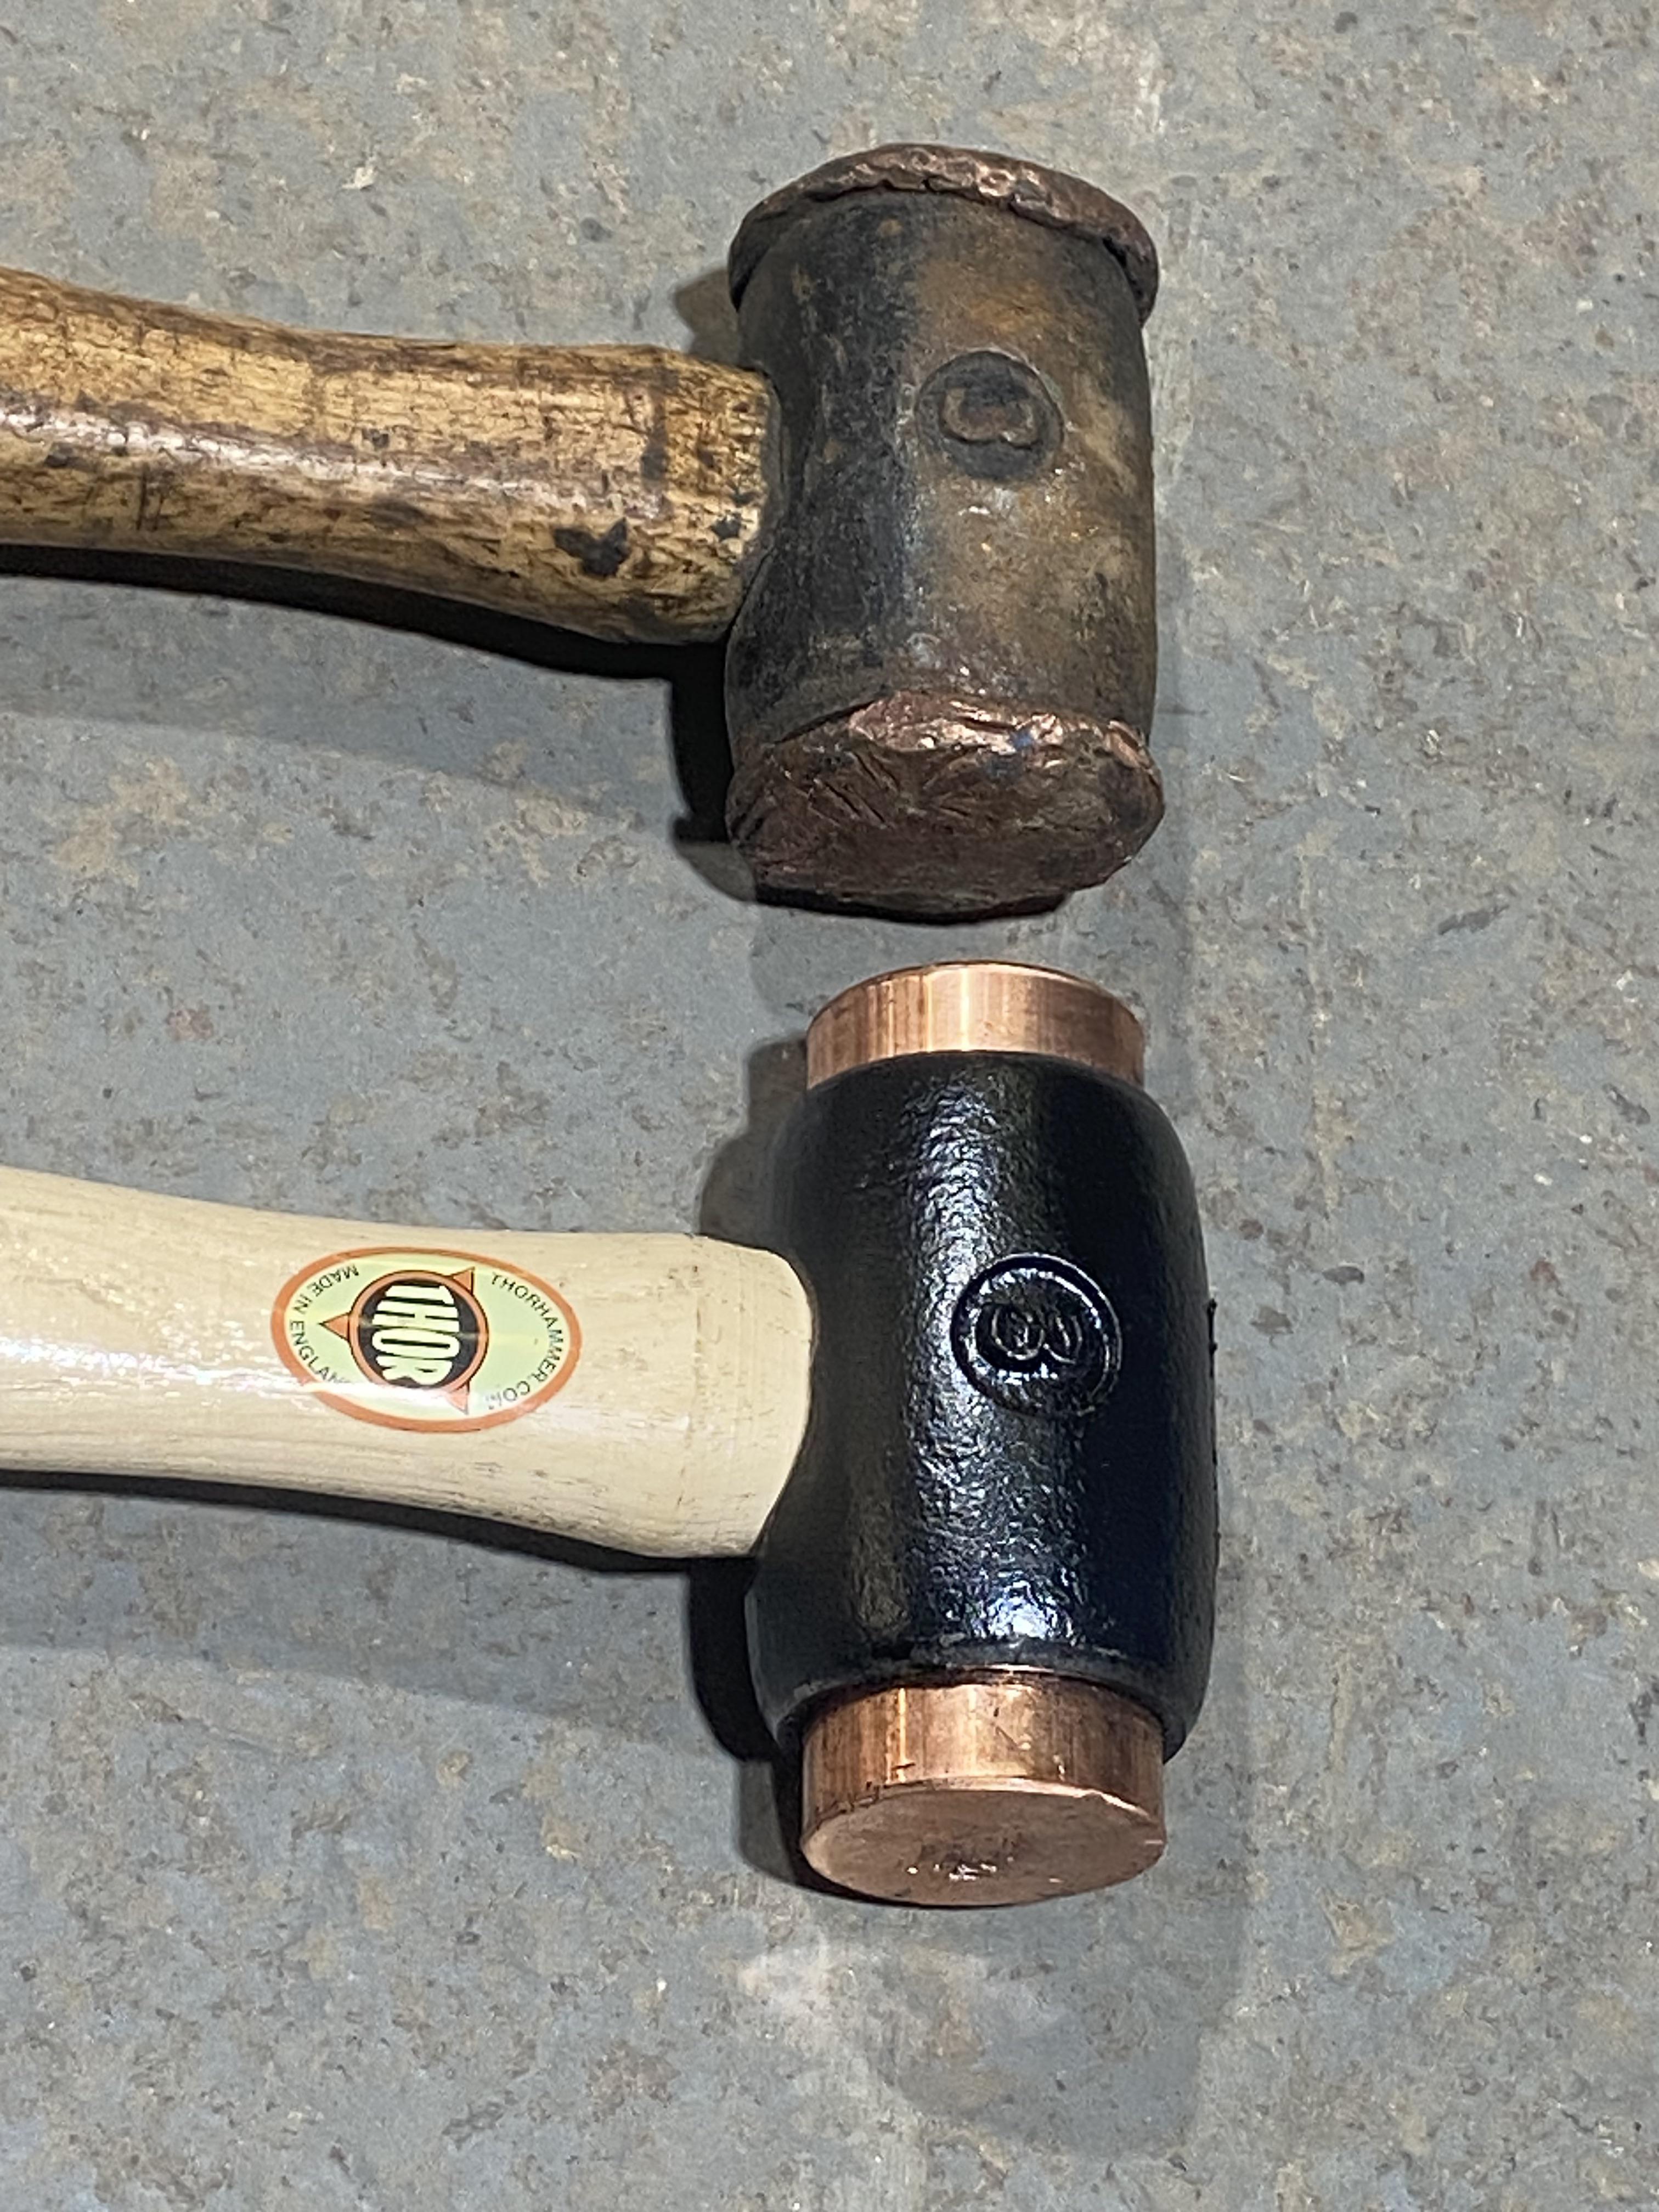
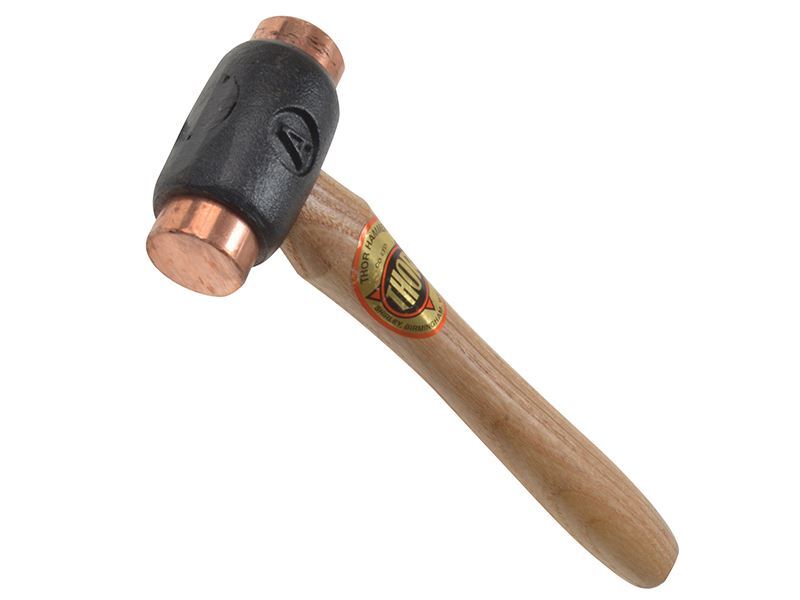
The Final Product: So, there you have it – a copper Thor hammer! It’s not exactly Mjolnir, but it's a cool little project, and it's definitely a conversation starter. Plus, it's actually useful! I've used it for some light hammering tasks around the house. The soft copper is great for things you don't want to damage.
What I Learned: This project taught me a lot about working with copper. It's softer than steel, which makes it easier to shape, but it also means you have to be careful not to dent or scratch it. It also conducts heat really well, so you gotta wear gloves when you're heating it up. Overall, it was a blast, and I'm already thinking about what to make next!


