Alright, let's talk about those ancient Greek helmets I've been messing around with lately. It all started when I stumbled upon some images online and thought, "Hey, those look kinda cool, maybe I could try to recreate some of them." I'm no expert, mind you, just a guy who likes to tinker and see what happens.
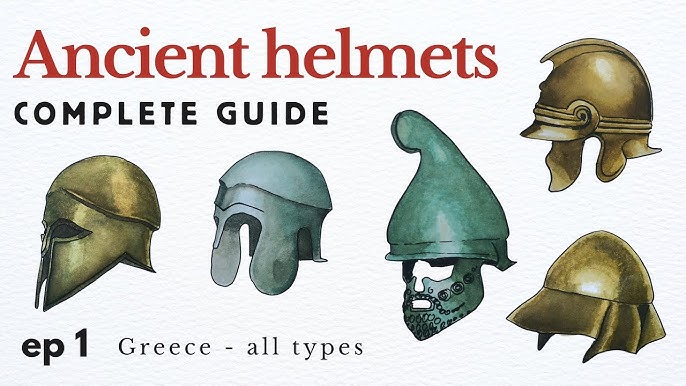
So, first things first, I did a bit of digging. I wanted to get a basic understanding of the different types. From what I gathered, there were a few main players: the Corinthian, the Illyrian, the Chalcidian, and the Phrygian. Each had its own distinct look, which was pretty neat.
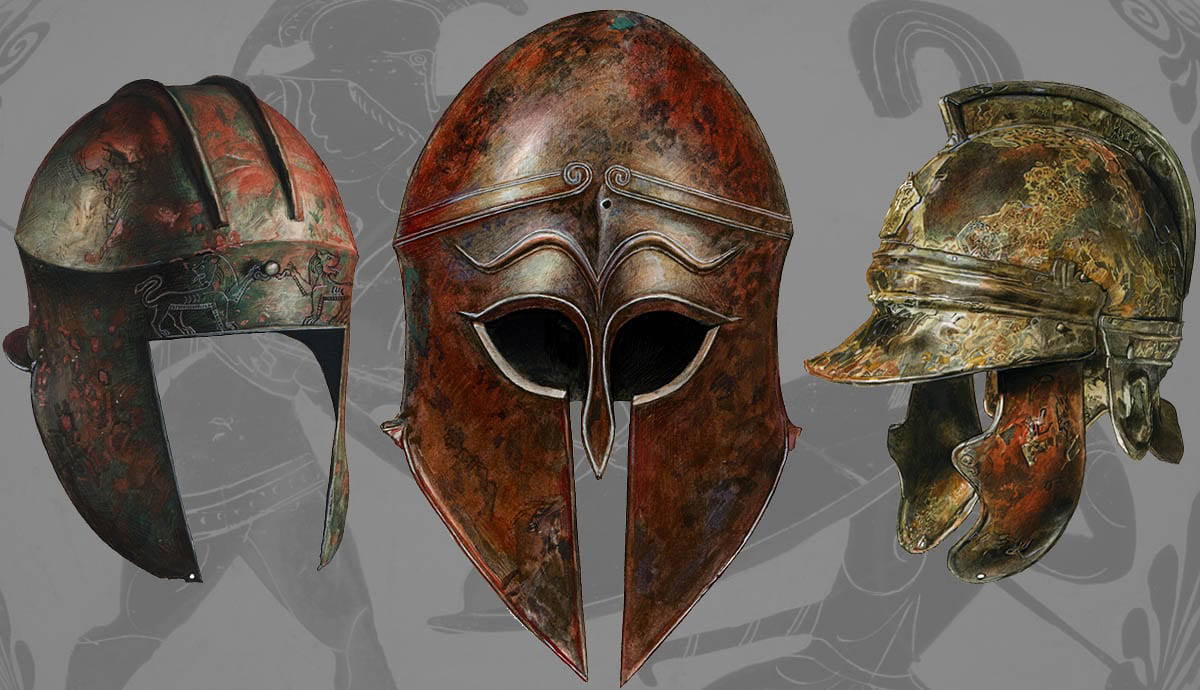
- Corinthian: This one's the classic, right? Full face coverage, with those cheek pieces and a T-shaped opening for the eyes and mouth. Looks intimidating as heck.
- Illyrian: More open-faced than the Corinthian, with cheek guards but leaving the face mostly exposed. Seemed a bit more practical, maybe?
- Chalcidian: A bit of a hybrid, I guess. More face exposure than the Corinthian, but with a definite nose guard and a generally smoother shape.
- Phrygian: This one's got that forward-sloping peak, kinda like a "Phrygian cap" or something. Looked kinda silly, but hey, to each their own.
Once I had a rough idea of the styles, I started sketching some designs. I'm terrible at drawing, but it helped me visualize what I wanted to build. I mostly focused on the Corinthian and Illyrian types, because those seemed the most interesting to me.
Next up, I needed to figure out materials. I wasn't about to start hammering metal, so I went with something a bit more manageable: thick cardboard. Yeah, I know, not exactly historically accurate, but it's what I had on hand. I cut out the basic shapes for the helmet's body, the cheek pieces, and any other details. Lots of measuring, cutting, and taping followed. The taping was crucial – kept everything from falling apart!
The tricky part was getting the curves right. Cardboard doesn't exactly bend easily. I ended up scoring the inside of the cardboard with a knife (carefully, of course!) to make it more flexible. It wasn't perfect, but it did the trick. I also used a heat gun (again, carefully!) to gently mold the cardboard into the desired shape. That helped a lot.
After the basic shape was done, I started adding details. I used more cardboard scraps to create the ridges, the cheek guards, and the visor. I also added some "rivets" using small wooden beads glued onto the surface. It's all about the details, you know?
Painting was the final step. I used metallic silver spray paint to give the helmets that "iron" look. I also added some weathering effects with black and brown paint to make them look a bit more worn and battle-scarred. I even tried adding some faux bronze accents to one of them, just to see how it would look.
The end result? Well, they're not exactly museum-quality pieces, but they're not bad for a cardboard and tape project. They definitely look like ancient Greek helmets, even if they're a bit on the flimsy side. It was a fun project, and I learned a lot about the different helmet types and the challenges of working with cardboard. Maybe next time I'll try something a bit more ambitious, like a full suit of armor… or maybe not!