So, I got this idea stuck in my head, right? I wanted to make an Athena goddess statue. Don't ask me why, just one of those things. I've always kind of liked the stories about her, wise and all that, plus the cool helmet and spear. Seemed like a fun project, you know, to get my hands dirty.
Getting Started - The Messy Part
First thing I did was gather all my stuff. I figured clay was the way to go. Got a big block of air-dry clay, thought that would be easiest. Didn't want to mess with kilns or anything too complicated. Then I hunted down some sculpting tools. Honestly, a lot of them were just old bits and bobs I had lying around – a dull knife, some pointy wooden sticks, even an old toothbrush for textures later on. Nothing fancy.
Then I actually started. I plonked that block of clay on my workbench, which is really just an old table covered in newspaper. I began by just trying to get the basic shape. You know, a rough human form. It's harder than it looks! At first, it was just a lumpy column. I spent a good while just pinching and pulling, trying to get something that looked remotely like a body.

Adding the Athena Vibe
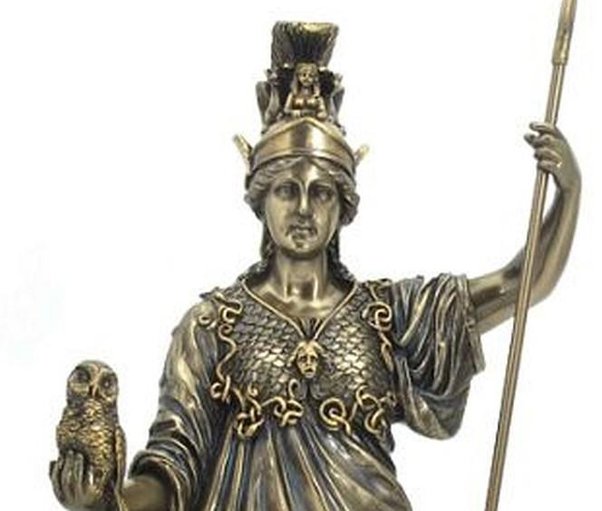
Once I had a sort of basic figure, I started thinking about making it actually look like Athena. The helmet was a big one. I molded a separate piece for that, trying to get that classic crested look. It took a few tries, let me tell you. The first one was too floppy, the second one too small. Eventually, I got something that looked okay.
Then came the shield and spear. For the shield, I flattened a piece of clay and tried to shape it round. The spear was just a long, thin roll of clay. I knew I had to be careful with that, super easy to break. I decided to make her holding the spear, kind of ready for action.
The face, oh man, the face. That was tough. Trying to get the eyes and nose and mouth to look right, not too cartoony, not too weird. I spent ages just poking and smoothing small bits of clay. It’s all about tiny adjustments. I also wanted to get some drapery going for her robes. So, I rolled out thin sheets of clay and carefully draped them over the figure. That part was actually quite fun, seeing the folds form.
The Little Details and Waiting
I remembered Athena often has an owl. So, I thought, why not? I made a tiny little owl to sit on her shoulder or near her. That was a fiddly little thing to make, but I thought it added a nice touch. I used that old toothbrush to give some texture to her robes and the owl’s feathers. Just dabbing it on gently.
After I was happy, or at least as happy as I was going to get with the sculpting, came the hard part: waiting. With air-dry clay, you just have to let it sit and dry completely. This took a few days. I kept checking on it, making sure no cracks were appearing. Luckily, it dried pretty evenly.
Finishing Up
Once it was bone dry, I decided to paint it. I went for a sort of bronze-ish look, maybe a bit aged. Used some acrylic paints I had. A base coat, then some darker washes to get into the crevices, and then a bit of dry brushing with a lighter metallic color to pick out the highlights. This really brought out the details, especially on the helmet and the shield. I even painted the little owl a soft brown and white.
And that was pretty much it! Stood back and looked at my Athena. It’s not perfect, you know, not museum quality or anything. But I made it. From a lump of clay to this. Pretty satisfying, I gotta say. It’s sitting on my shelf now, looking all wise and powerful. A good reminder of a few days spent just making something with my hands.