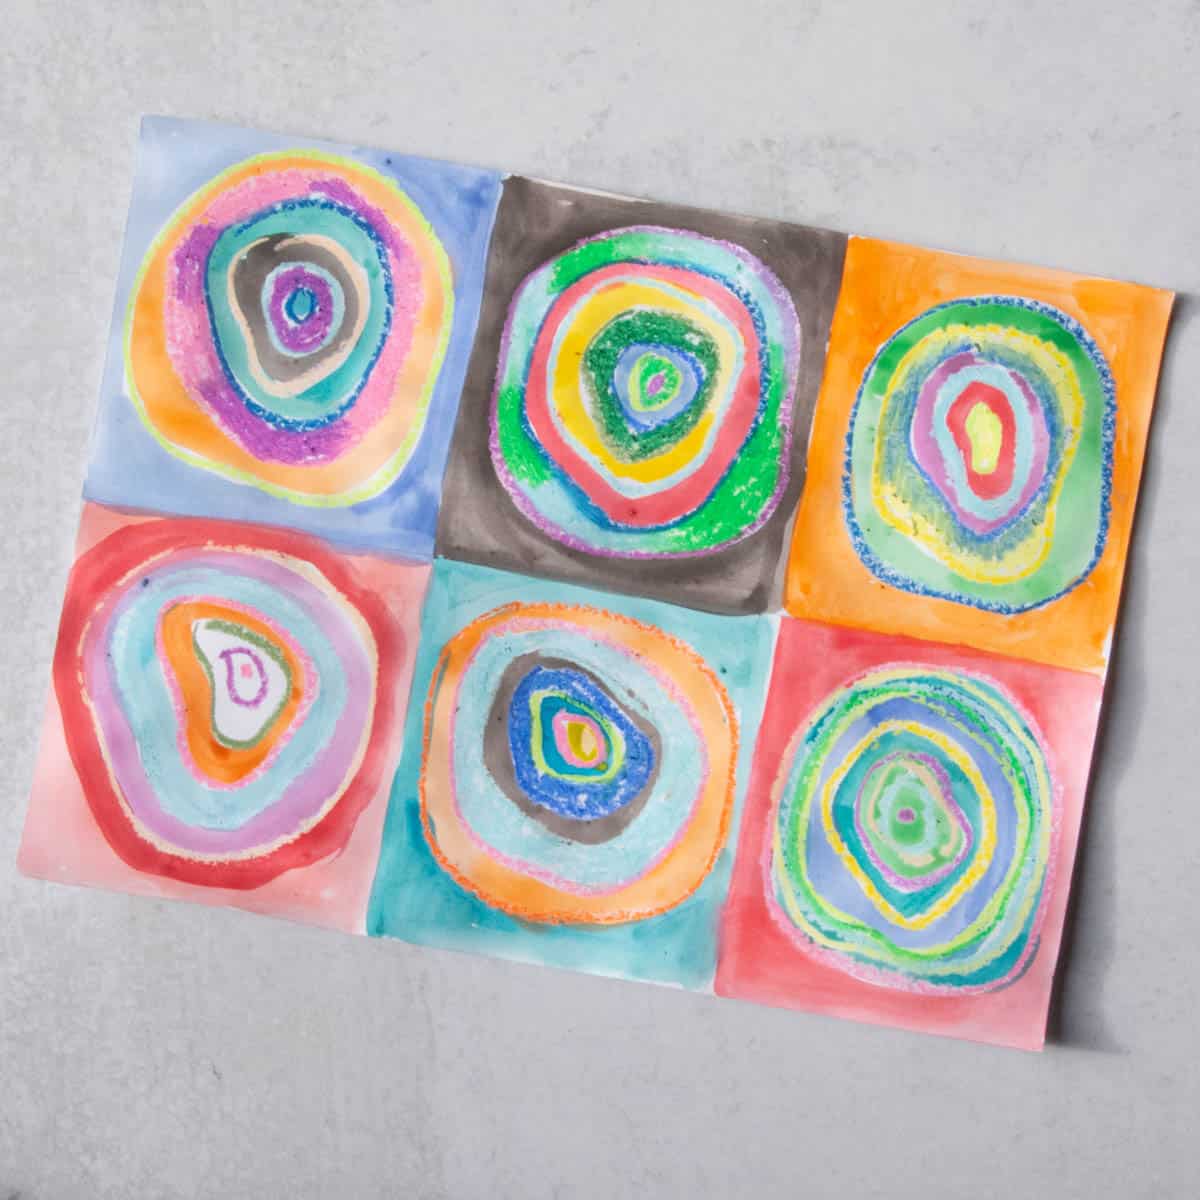
So last Tuesday night I'm scrolling through Instagram feeling kinda bored, right? Then this post pops up showing these super cool square artworks made entirely from concentric circles. Looks fancy but the caption says it's DIY friendly. Got me thinking - why not try this myself this weekend? Grabbed my old art supplies box from under the bed immediately.
Gathering Stuff From Around The House
First thing Saturday morning, I start hunting for materials. Didn't wanna buy anything new so here's what I dug up:
- A stack of printer paper from the home office
- My niece's leftover watercolor paints from last summer
- Empty yogurt containers for mixing colors
- A dried-up sharpie and some rusty compass from high school math class
- That broken picture frame with intact glass pane behind the sofa
The Messy Setup Phase
Cleared the kitchen table as my workspace - big mistake considering what came next. Poured tap water into three yogurt containers, dropping different paint colors into each until the water looked murky enough. Already spilled red paint water everywhere - instant regret as it stained the tablecloth. Whatever, kept going.
The Trial-And-Error Disaster
Tried doing this freehand with the compass first. Made three wonky circles that looked like sad eggs instead of circles. Trashed that paper immediately. Next attempt: placed the picture frame glass over the paper to trace straight lines with the dried sharpie. Actually worked! Got perfect squares divided into smaller squares. Felt brilliant for thirty seconds.
Dipped my finger in paint water trying to place dots at each square corner - ended up smudging everywhere like a toddler's fingerprint art. Third try: used the compass tip dipped in paint as a dotting tool. Progress! Painstakingly created anchor dots at every intersection point across the grid while wiping my inky fingers on sweatpants repeatedly.
Finally Getting The Hang Of It
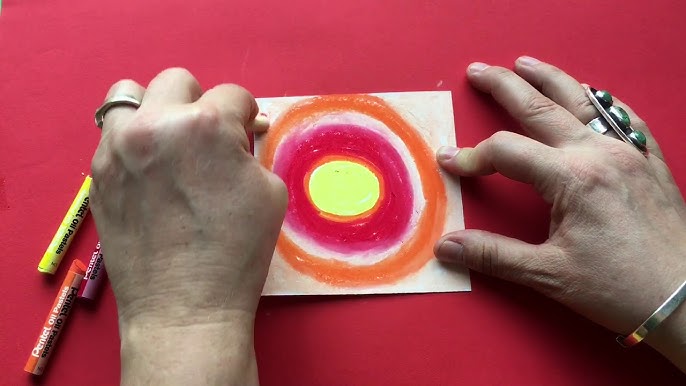
Started drawing concentric circles around each anchor point with the compass. The trickiest part? Remembering which points to connect! Made these little circle families growing outward until they bumped into neighbors. Some parts looked great immediately, others became muddy brown disasters when circles overlapped with wet paint. Just kept layering colors wherever it looked empty.
The Happy Accident Finish
After two hours of obsessive circle-making, stepped back to evaluate. The middle looked dope but corners felt unfinished. In frustration, splattered paint drops across the edges - total accident. Wait... that actually looked cool? Made intentional splatters mimicking the circle pattern. Finished by tilting the paper sideways to make drips connect everything. Laid it flat to dry overnight.
Sunday morning verdict? Not perfect but genuinely proud of this weird geometric thing hanging on my fridge now. Main lesson: More paint consistency = brighter rings. Gonna raid the recycling bin for cardboard next time instead of flimsy paper - might hold heavy paint better.