Okay, here's my take on sharing my experience with an "inscribed viking monument" project, blog-style:
Alright folks, so I finally wrapped up that inscribed viking monument thing I was messing with! Been a wild ride, let me tell you. Here's the whole shebang, start to finish.
First off, I had this idea, right? I wanted to create something that looked like a real, ancient Viking monument, you know, with runes and all that jazz. But I didn't want to just slap some random symbols on a rock. I wanted it to feel authentic. So, step one: research! I dove headfirst into books and websites about Viking history, rune alphabets (the Elder Futhark, specifically!), and the kinds of inscriptions they actually used. Spent a good week just soaking it all in.
Next up: Materials. I figured a big, rough-hewn stone would be the way to go. Luckily, there's a landscaping supply place not too far from my house. I drove over there, walked around for what felt like forever, and finally found this massive chunk of granite. It was perfect – uneven, weathered, and had this kinda imposing vibe. Got it delivered, and that thing was HEAVY. Seriously strained my back getting it positioned in the yard.
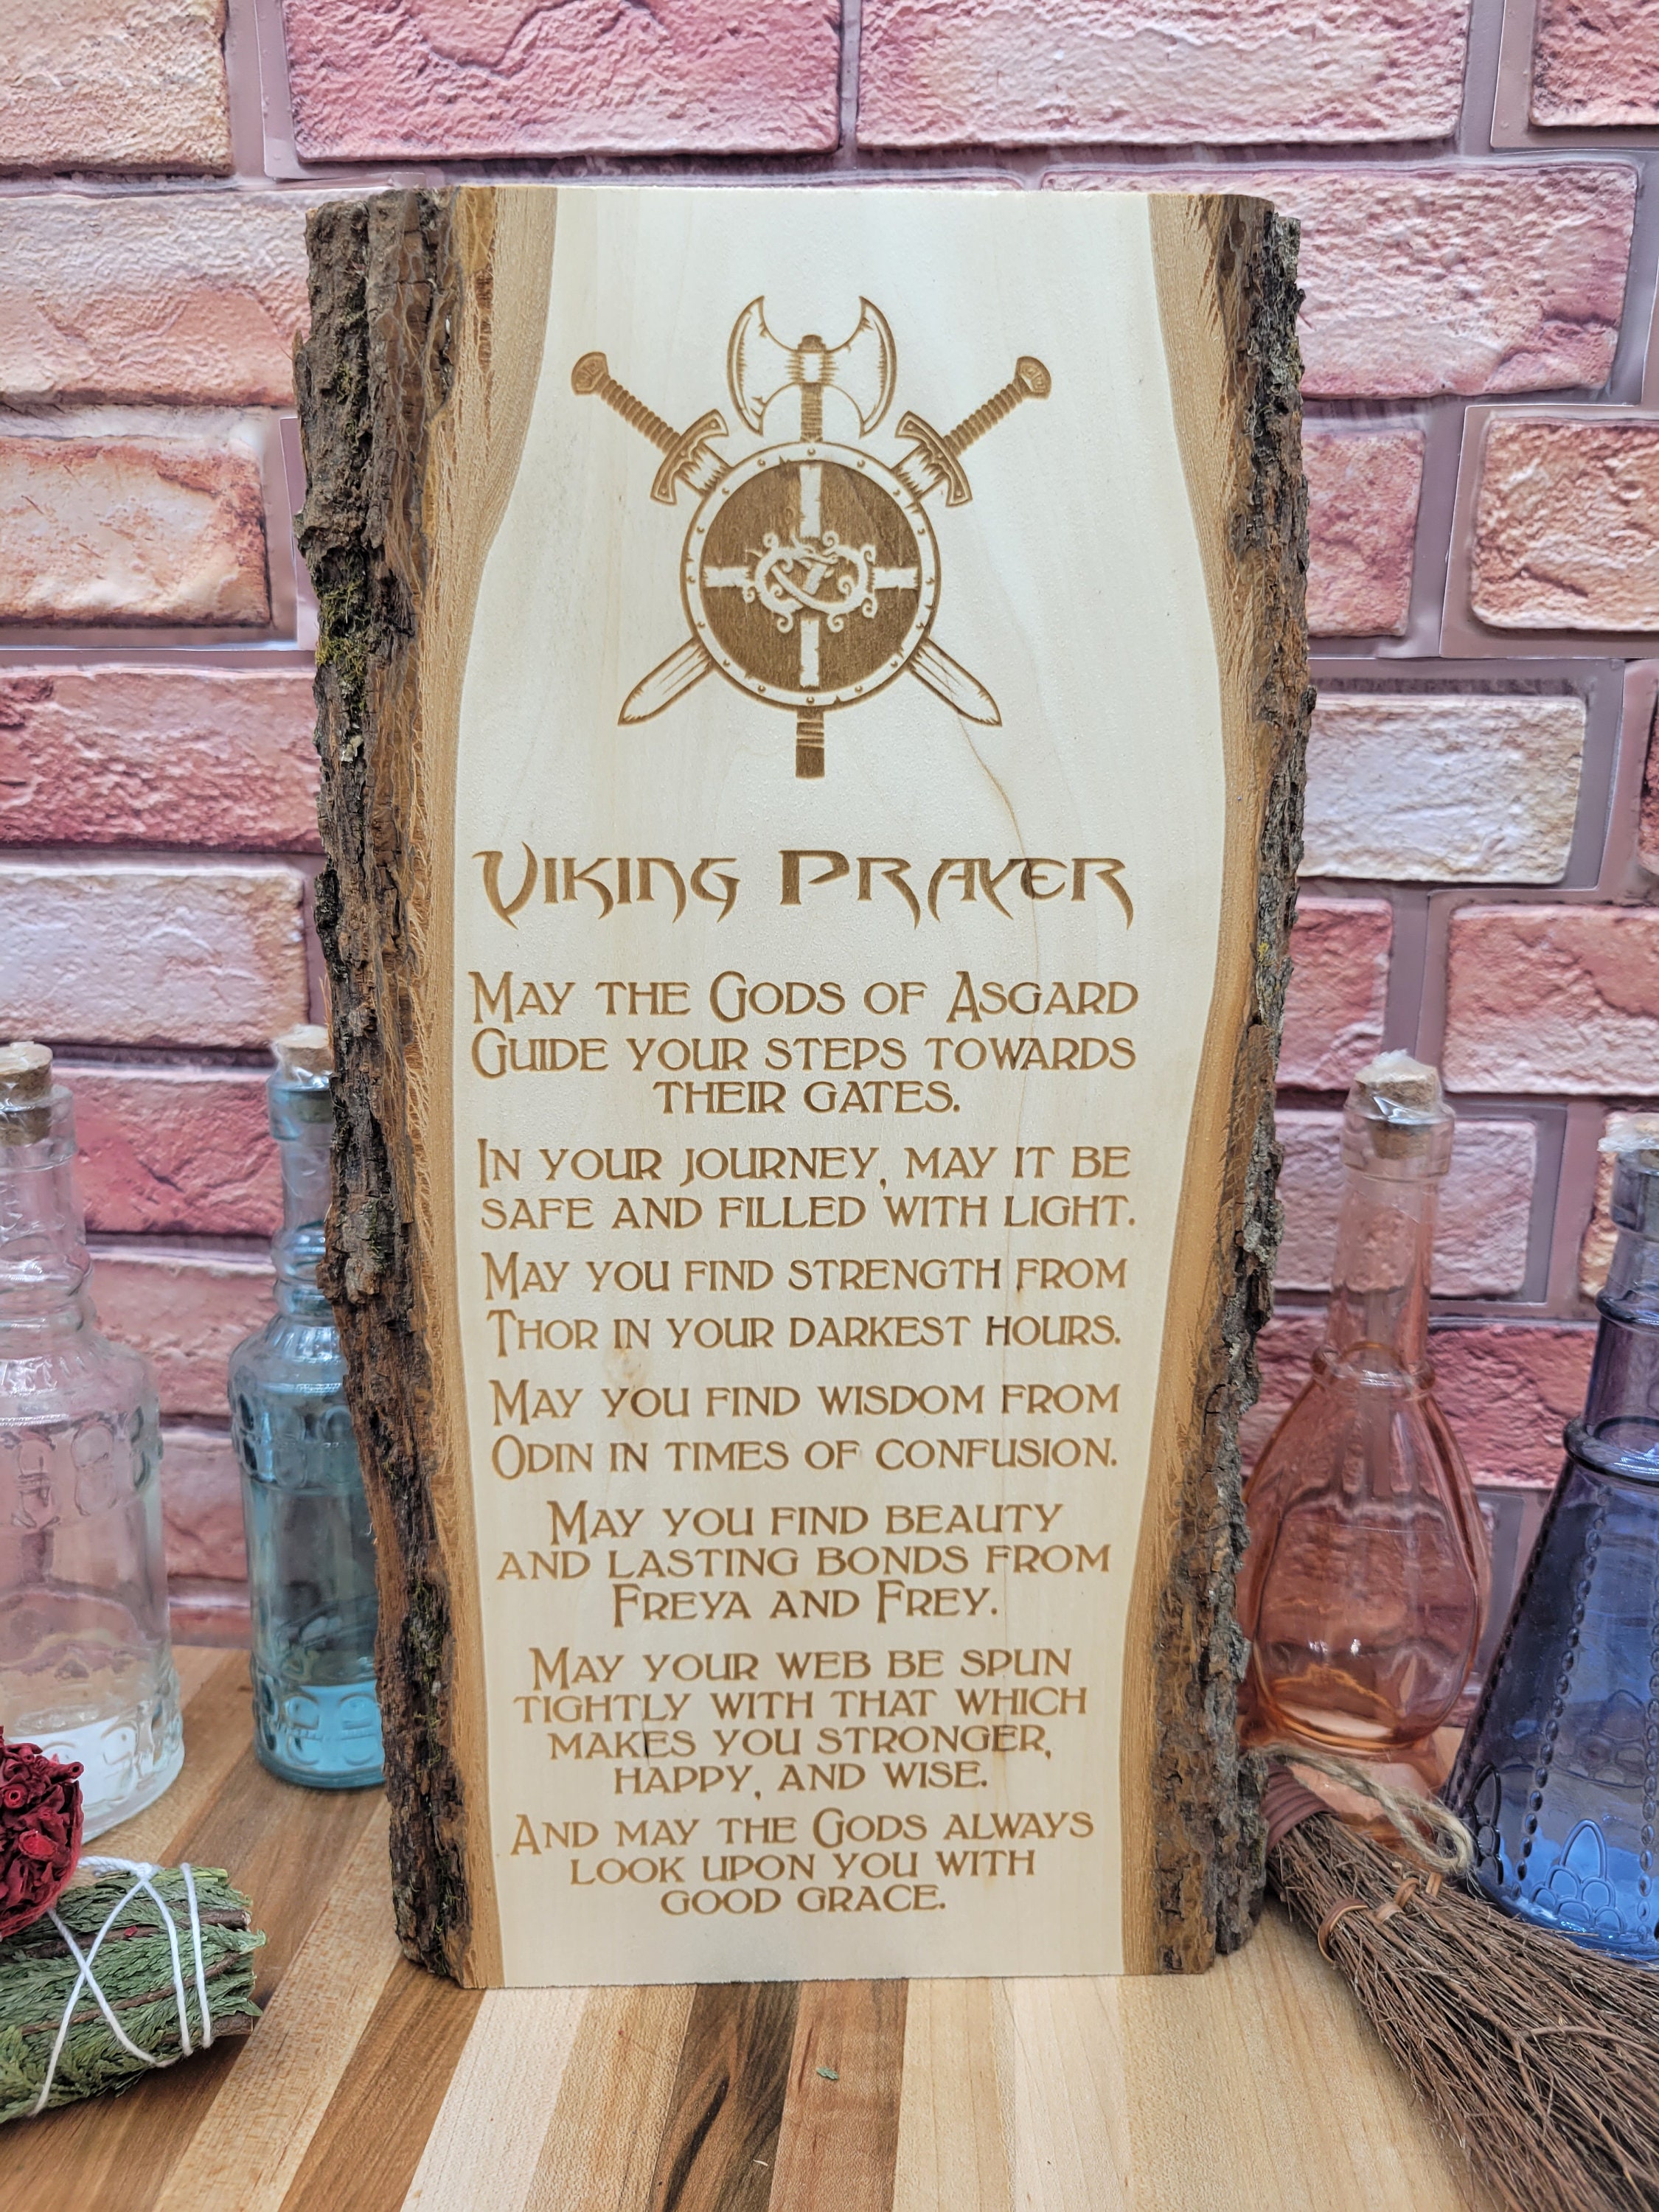
Then came the fun part: the inscription! I didn't want to just copy something I found online. I wanted to create my own inscription, something meaningful. So, I played around with different ideas, looking at translations of actual Viking inscriptions for inspiration. Eventually, I came up with this phrase: "Thor bless this place and protect its people." Seemed suitably Viking-y, right? I carefully translated that into runes using an online rune converter (yeah, I know, maybe not 100% authentic, but hey, gotta start somewhere!). Double-checked it a bunch of times to make sure I didn't mess anything up.
Okay, here's where things got tricky. Actually carving the runes into the stone. I started with a chisel and hammer. Nope. That was taking forever and looked like crap. The granite was way harder than I thought. So, back to the drawing board (and YouTube!). I ended up buying a rotary tool with some diamond-tipped bits. That was the ticket! Still took a good long while, but it was way more manageable. I carefully traced the runes I'd sketched onto the stone with pencil, then slowly, painstakingly, carved them out. Lots of dust. Lots of patience required.
Once the carving was done, the stone looked a bit too...clean. I wanted it to look older, more weathered. So, I tried a few different things. First, I used a wire brush to roughen up the surface. Then, I mixed up some dirt and water and rubbed it into the runes to give them some depth and contrast. Finally, I let it sit out in the sun and rain for a few weeks to let nature do its thing.
And that was it! The inscribed Viking monument was done. It's now sitting proudly in my backyard, looking all weathered and ancient. It's not perfect, by any means. I messed up a couple of runes here and there, and the carving could be cleaner. But, you know what? I'm pretty darn proud of it. It was a fun project, I learned a ton, and now I have a little piece of Viking history (or at least, a very convincing imitation!) in my own backyard. Maybe I'll add another one next year!
- Research: Viking history, rune alphabets, inscriptions
- Materials: Granite stone, chisel, hammer, rotary tool, diamond-tipped bits
- Process: Carving runes, weathering, installation
Would I do it again? Absolutely. Maybe next time I’ll try a different kind of stone, or a more complex inscription. The possibilities are endless!
Lessons Learned:
- Granite is hard! Seriously, invest in good tools.
- Patience is key. Don't rush the carving process.
- Weathering is your friend. Let nature help you age the monument.


