So, I decided to have a crack at making a Charles Rennie Mackintosh chair. Or, well, my version of one. You know the ones, super tall backs, kinda arty looking. Always fancied his style, a bit different from the usual stuff you see.
Getting Started - What Was I Thinking?
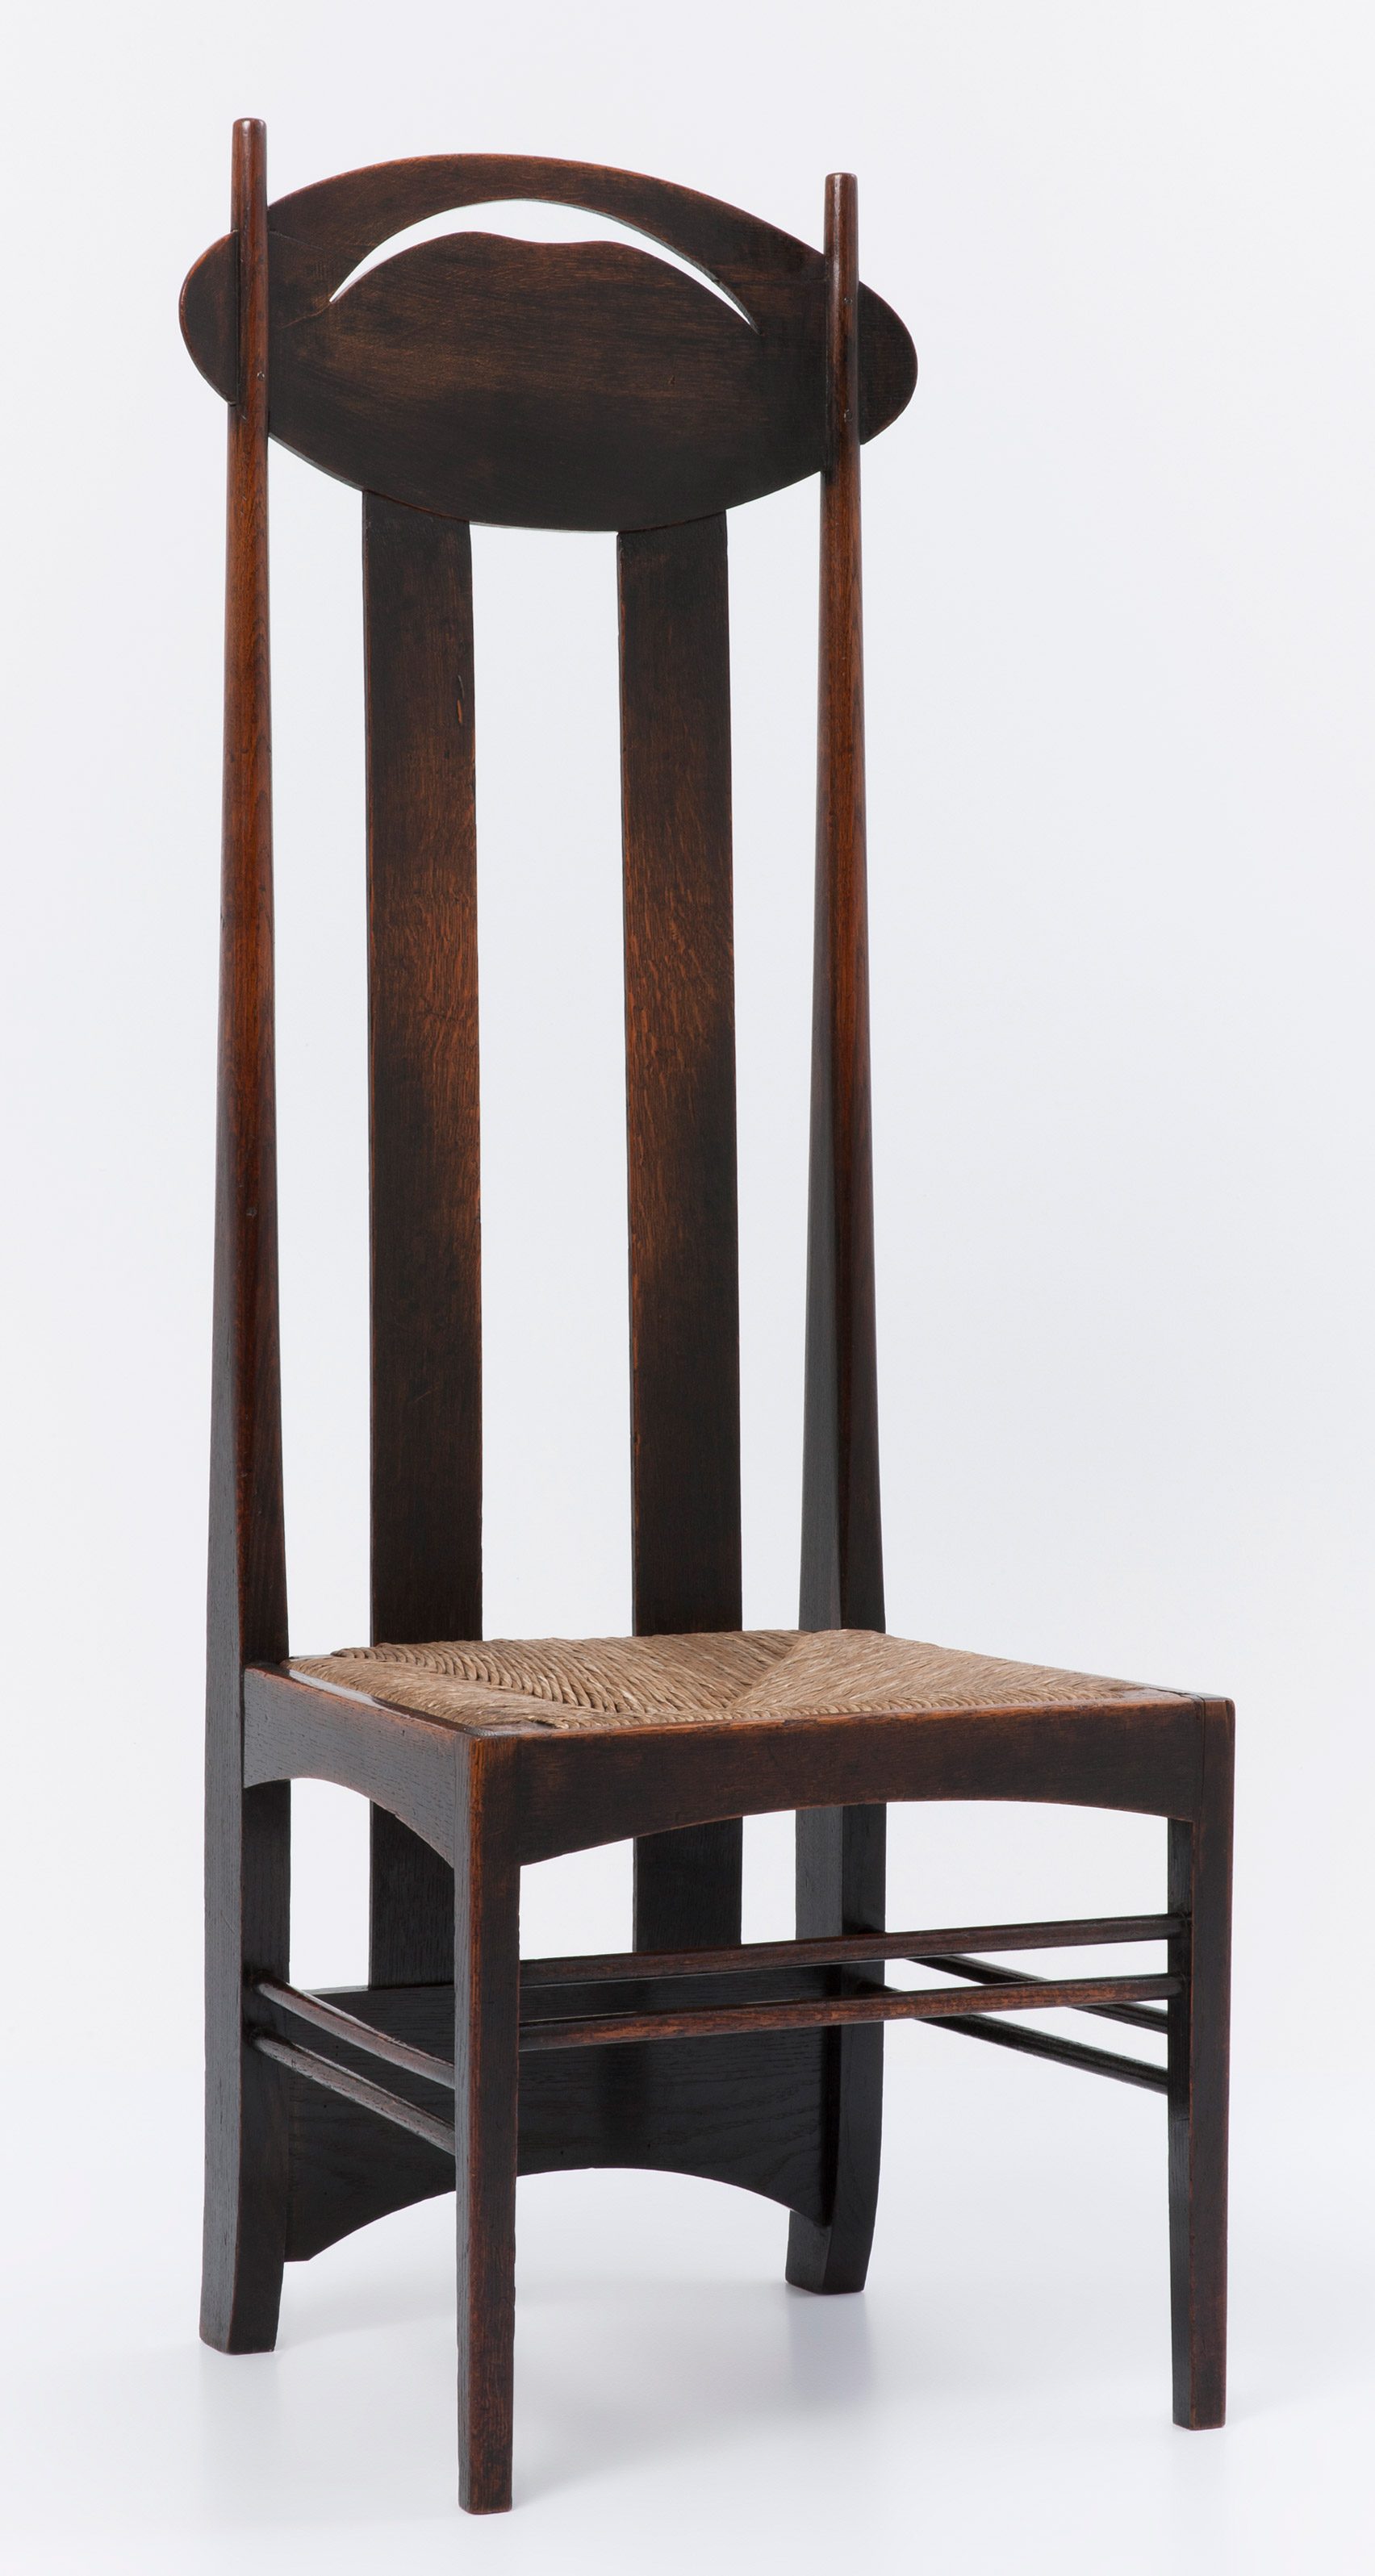
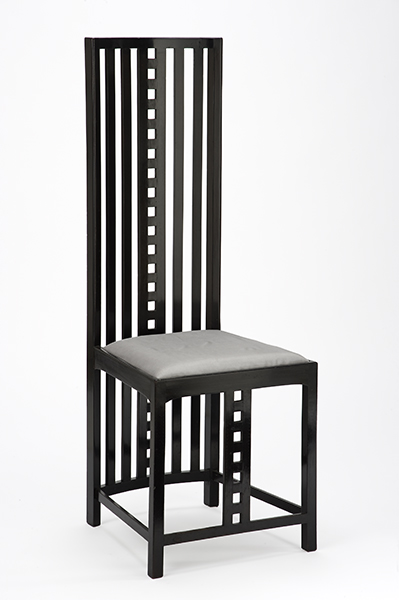
First off, I spent ages just staring at pictures. His designs, they look simple, but boy, they ain't. Especially those high-back ones, like the Argyle Chair or the Hill House Chair. They're iconic for a reason, I guess. I thought, "How hard can it be?" Famous last words, right?
I tried to find some proper plans, but good luck with that for free. Most of what I found were just dimensions from museum pieces or fancy design books. So, it was a lot of sketching and guessing, trying to get the proportions to feel right. I'm no architect, that's for sure.
The "Why" - A Bit of an Obsession
Why Mackintosh? Good question. I think it started when I saw one of his pieces in a dusty old auction house years ago. It wasn't even for sale, just stored in a back room. But it stuck with me. It was so elegant but also really bold. It wasn’t like the chunky, comfy stuff my nan had, nor the super modern Scandi stuff everyone has now. It was its own thing.
I sort of got it into my head that I had to try and understand how these things were put together. It became a bit of a mission. My workshop, well, my garage, was about to become a Mackintosh testing zone.
The Actual Process - Sweat and Sawdust
Okay, so picking the wood. He used a lot of dark stained oak, or ebonized wood. I went for oak, figured I could stain it later. Getting those long, slender pieces for the back was a challenge. My local timber yard guy looked at me funny when I told him what I was up to. "You making a ladder or a chair, mate?" he asked.
The joinery was the real beast. Lots of mortise and tenons, and they had to be super precise because everything is so exposed in his designs. There's no hiding shoddy work with upholstery or chunky frames. Every line, every joint is out there for the world to see. I made so many practice joints, my scrap bin was overflowing.
- Cutting the back slats: This took forever. Getting them all uniform, and then the slight tapers some of them have. My patience was tested, let me tell you.
- The seat: I opted for a simple wooden seat, though some of his have rush seats. I wasn't brave enough to tackle rush weaving on top of everything else.
- Assembly: This was like a really stressful game of Jenga. Trying to get all those tall back pieces to align, gluing them up, clamping them without anything slipping. There were a few choice words uttered, I won't lie.
I remember one evening, I was fitting the crest rail, that top bit on the really tall chairs. It just wouldn't sit right. I'd measure, re-measure, shave a bit off, try again. I nearly threw the whole thing across the garage. My dog just sat there watching me, probably thinking I'd finally lost it. Turns out, one of my clamps had subtly shifted one of the back legs, just a tiny bit, throwing everything else off. Took me an hour to figure that out.
The "Finished" Product - Well, Almost
So, did I end up with a museum-quality Mackintosh replica? Absolutely not. Let's be real. It's a bit wobbly if you lean back too hard. The stain is probably a shade off. Some of the joints have tiny gaps that would make a purist weep.
But you know what? It looks like a Mackintosh chair, from a distance, if you squint a bit. And I made it. Every frustrating angle, every splinter, every re-cut piece. It taught me a heck of a lot about patience, and about appreciating how much skill goes into those iconic designs. It's not just about having a cool idea; it's about the execution.
It now sits in the corner of my study. More of a sculpture than a daily-use chair, to be honest. But every time I look at it, I remember the process. And I think, yeah, I actually did that. It's not perfect, but it's mine. And I learned that sometimes, the struggle is the whole point. Maybe I'll try another one of his designs one day. Or maybe I'll just stick to birdhouses.


